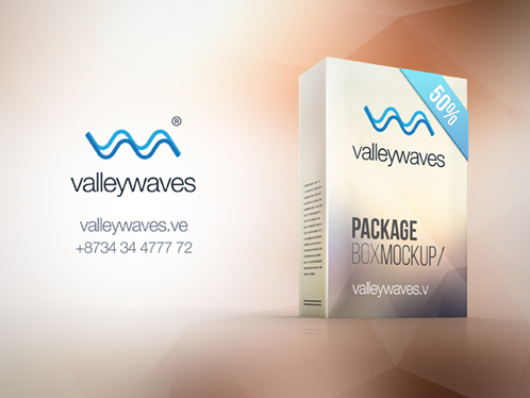
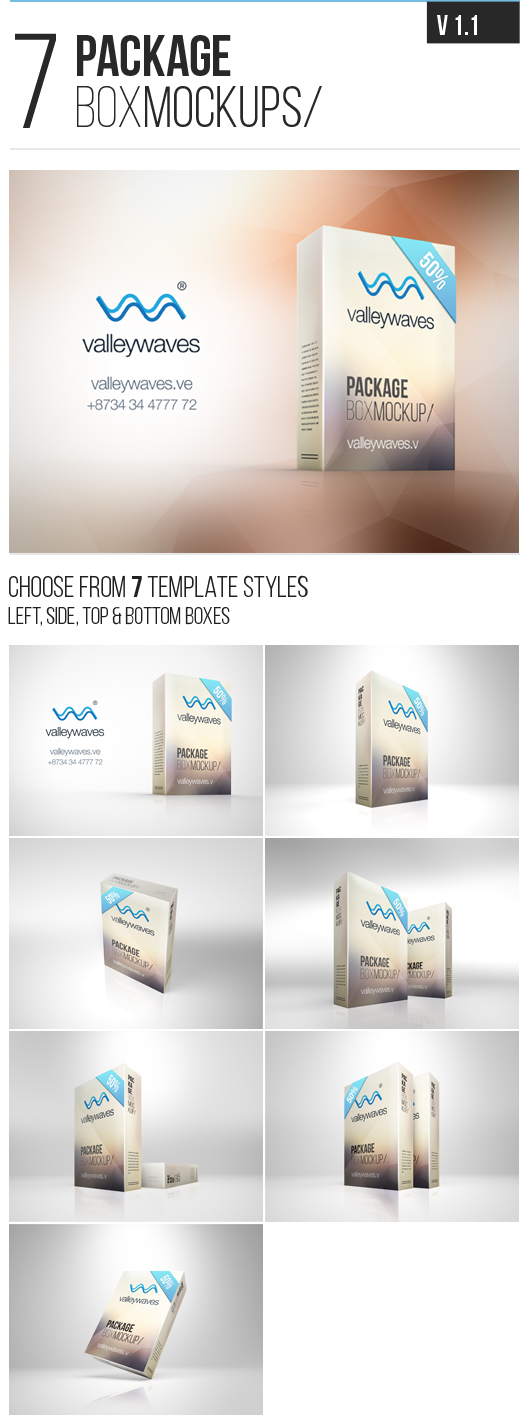
7 different style psd package mockup template that you can customize easily.
How to Add Your Design ?
1. Once you open the photoshop file, you will find the following layers.
2. To add your design, open one of the 7 packs (Pack 1 Layer, Pack 2 Layer, etc… ). To edit “Pack 1” for example, tick on the box next to it to unhide the layer and then tick the little arrow next to it to open the inner layers of the pack as shown in the screenshot below.
now open the “Sides Layer” ; you will find the design layers that you will have to edit. These layers include the front, side, top and bottom sides of your package box. To edit any of the sides right click on the layer and choose “ Edit Content ”. A new window will open where you will be able to paste your design.
3. Save all changes in the opened windows and return to your main Photoshop file. You will find that the design is updated in the side you have choose to edit. Repeat this procedure for your other sides of the box.
How to add effects ?
To add one of the following effects; grayscale, colors, reflection or round corners all you have to do is to activate the layer visibility for any of the effects.
Grayscale Effect
To add grayscale color to your mockup, just click the eye icon next to the grayscale group layer to make it visible. This will apply to all of the 7 mockups.
Color Effect
To add colors to your mockup, click on the eye icon next to the color effects group layer to make it visible then tick the arrow next to it to open the inner layers. Now tick the box next to the color layer that you want to apply as shown in the screenshot below.
Round Corners
Round Corners are activated by default. If you want to make the corners sharp, hide the “Round Corners” Layer under the layer of the pack you are working with as shown in the screenshot below:
Gloss Effect
Gloss Effect is activated by default. If you want to remove this effect, hide the “Gloss Effect” Layer under the layer of the pack you are working with as shown in the screenshot below:
How to Add a Corner Ribbon
Corner Ribbon is activated by default. If you want to edit the ribbon style, text or color go to the “Ribbon Layer” under the pack you are working with. Right click on the layer inside and click edit content. A new Photoshop file will open with the ribbon and the text in it. Edit the info, save and return to your main file.
How to Add Polygon Backgroud
Under the backgrounds folder layer, you will find 20 different background layers that you
can choose from by activating the visibility of the background layer you choose.
How to Add Your Design ?
1. Once you open the photoshop file, you will find the following layers.
2. To add your design, open one of the 7 packs (Pack 1 Layer, Pack 2 Layer, etc… ). To
edit “Pack 1” for example, tick on the box next to it to unhide the layer and then tick the
little arrow next to it to open the inner layers of the pack as shown in the screenshot
below.
now open the “Sides Layer” ; you will find the design layers that you will have to edit.
These layers include the front, side, top and bottom sides of your package box. To edit
any of the sides right click on the layer and choose “ Edit Content ”. A new window will
open where you will be able to paste your design.
3. Save all changes in the opened windows and return to your main Photoshop file. You
will find that the design is updated on the side you have choose to edit. Repeat
this procedure for your other sides of the box.
How to add effects ?
To add one of the following effects; grayscale, colors, reflection or round corners all you
have to do is to activate the layer visibility for any of the effects.
Grayscale Effect
To add grayscale color to your mockup, just click the eye icon next to the grayscale
group layer to make it visible. This will apply to all of the 7 mockups.
Color Effect
To add colors to your mockup, click on the eye icon next to the color effects group layer
to make it visible then tick the arrow next to it to open the inner layers.
Now tick the box next to the color layer that you want to apply as shown in the screenshot
below.
Ground Reflection
Ground Reflection is activated by default. If you want to remove the reflection, hide the “Reflection” Layer under the layer of the pack you are working with as shown in the screenshot below:
Round Corners
Round Corners are activated by default. If you want to make the corners sharp, hide the “Round Corners” Layer under the layer of the pack you are working with as shown in the screenshot below:
Gloss Effect
Gloss Effect is activated by default. If you want to remove this effect, hide the “Gloss Effect” Layer under the layer of the pack you are working with as shown in the screenshot below:
How to Add a Corner Ribbon
Corner Ribbon is activated by default. If you want to edit the ribbon style, text or color go to the “Ribbon Layer” under the pack you are working with. Right click on the layer inside and click edit content. A new Photoshop file will open with the ribbon and the text in it. Edit the info, save and return to your main file. How to Add Polygon Backgroud Under the backgrounds folder layer, you will find 20 different background layers that you can choose from by activating the visibility of the background layer you choose.